How To Organize Your Closet By Color & Style
When walking into your closet in the morning to get dressed, do you get frustrated when you can’t find that shirt you wanted to wear?
Are you spending half your time searching for something so that by the time you’re dressed, you’re already running late?
Do you feel like you have a closet full of clothes but nothing to wear?
If you’ve felt these or any other stressors when walking into your closet, you’ve come to the right place. Today I’m going to walk you through some simple steps to organize your closet and get back your sanity!
I’m going to share the way I have organized my closet for years but there are multiple ways to go about it so don’t feel you have to do it my way.
But you have to start somewhere!
How To Organize Your Closet By Color And Style
First let’s talk about three popular techniques for organizing your closet.
- Organize by color using the rainbow method and/or dark to light (or light to dark).
- Seasonally – separate your clothes into the seasons you wear them in.
- Style or category
However, in this post we are going to work on organizing by color using the rainbow then light to dark and also by style or category.
Style or category simply means shirts go with shirt, pants go with pants, etc. etc.
I promise this will be easy peasy!
Be excited because once we are done you will walk into your closet and smile. Getting dressed will be so easy that you might find yourself trying out new outfit combinations and new styles.
Suddenly getting dressed might be your favorite part of the morning!
Step One – How To Organize Your Closet
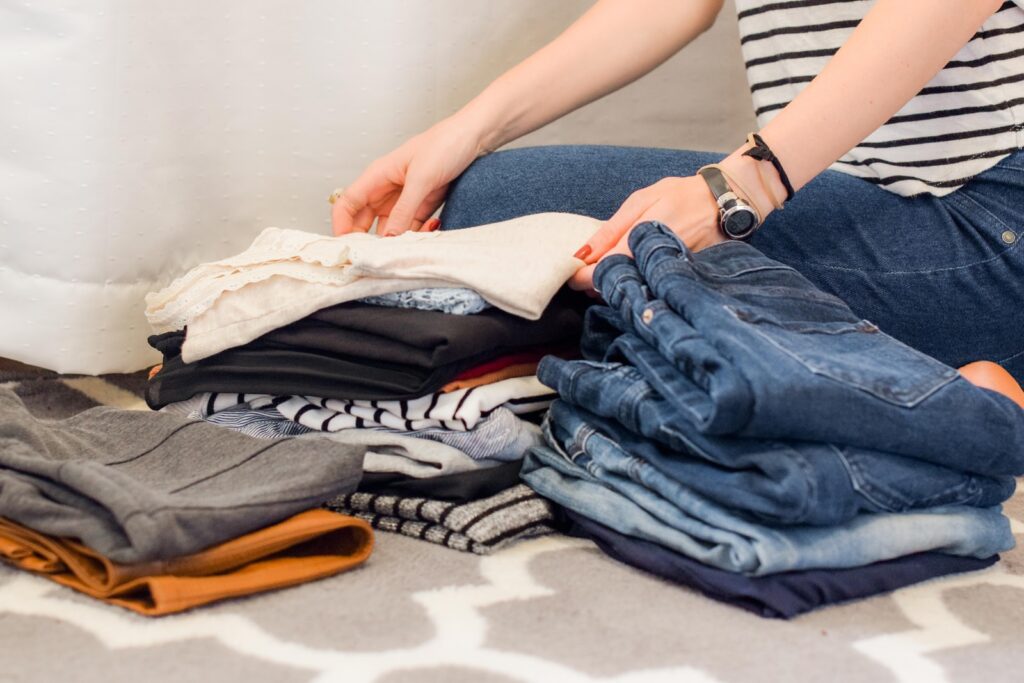
The first step, and arguably the hardest or most time consuming, is sorting through the clothes you have.
For this step, It’s best to set aside a couple of hours to do this all at once, but if you don’t have that kind of time, don’t worry. You can always break it up a section at a time over a couple of days.
Sorting Your Clothes
Sort your clothes into four piles.
- The keep pile – these are clothes you know you love and wear often.
- The donate pile – clothes that no longer fit or that you do not like/wear.
- The try-on pile – if you aren’t sure If something still fits or if you still like the way it looks on you then put it in this pile.
- The throw away pile – If it’s not fit to be donated, has holes, tears, or is super worn then put it in this pile.
Okay, it’s important to be honest with yourself during this part. So, if you aren’t sure if you will wear something but can’t bear to part with it then try this trick:
- Place your clothes on the hangers so they are pointing forward towards you when you hang them up.
- Whenever you take something out to wear it, turn the hanger back around the right way.
- After a couple of months take a look at the ones you haven’t turned around and most likely they will be ready to be donated. (The only exception to this is for things that are extremely out of season – like sweaters when it’s summer – you can try this trick again once it’s sweater season.)
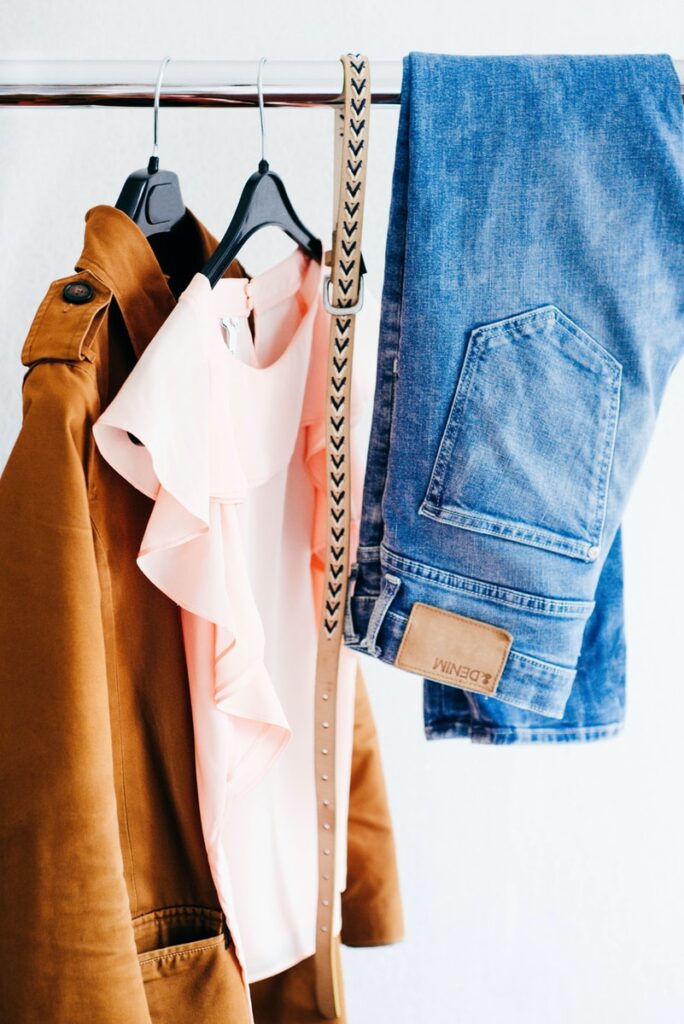
Step 2 – How To Organize Your Closet By Category
Once everything is out and sorted it’s time to categorize!
Categorizing is simply a way to have all your similar things together.
So when you walk into your closet looking for a sleeveless green top you will know exactly where to look for it!
Find The Friends
The first step is organizing by category is to put like with like.
Shirts with shirts, jeans with jeans, dresses with dresses, etc.
These are the main categories I have in my closet:
- Shirts
- Pants
- Dresses
- Skirts
- Sweaters that hang
- Sweaters that fold
- Vests
- Jackets
- Workout Clothes
- Underwear
- Socks
- Pajamas
Divide Into Sub-Categories
Now, once you have all the clothes grouped into their particular categories it’s time to create some sub-categories.
Shirts: Separate your shirts into the different styles. Here are the ones I use:
- short sleeve
- long sleeve
- sleeveless
- T-shirts
Pants: Jeans, work pants, cropped pants, high-waisted, etc.
Dresses: Long, short, short sleeve, long sleeve, sleeveless, etc.
Skirts: mini, midi, maxi, wrap, circle, etc.
Outerwear: Blazers, sweaters, cropped jackets, rain jackets, etc.
Whew! Ok, I know you’re probably swamped in clothes right now but hang in there!
But, If you are feeling overwhelmed then take a quick break, get something to drink & a snack, and then meet me back here.
Ok, ready to jump back in? Great!
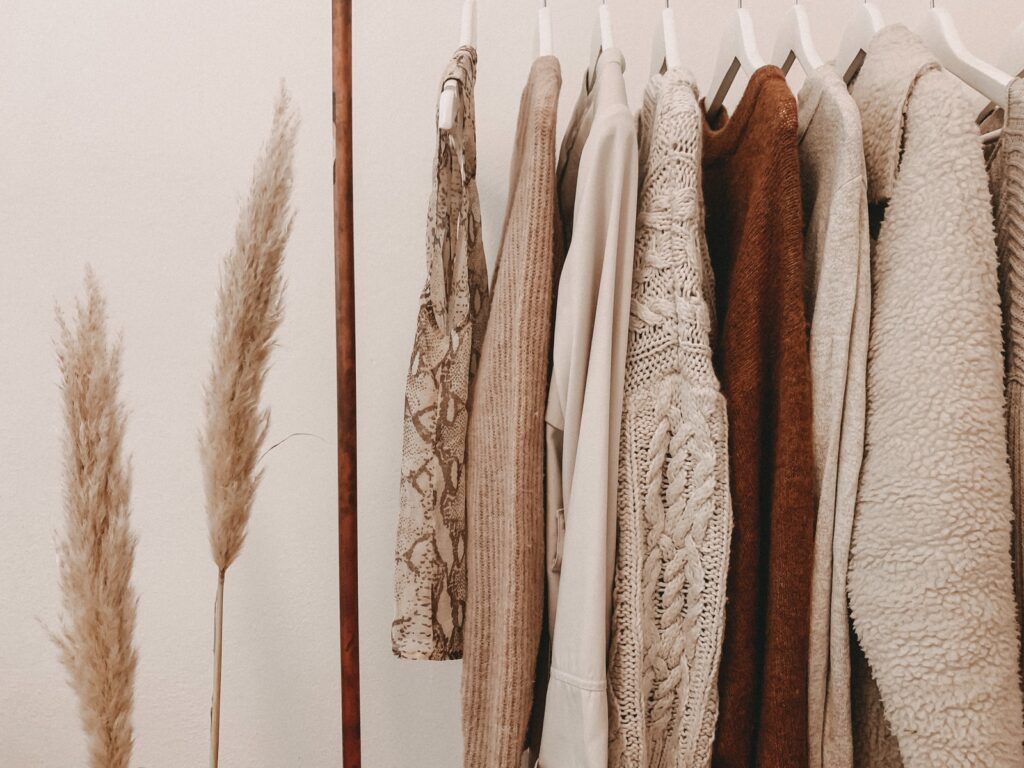
Step 3 – What Clothes Should Be Hung Up And What Should Be Folded
Since all your clothes are now in similar categories and sub-categories/styles you might be wondering where you are going to put all of these things.
Firstly, I will share what I do just to give you an idea of where to start, however, everyone is different so please feel free to put things how you want.
Now, we do not have a dresser in our bedroom but I do have a Kallax shelf from IKEA with cubes in my closet. So, this is my ”dresser” where I put the things that need to be folded instead of hung.
Clothes To Hang:
- All shirts except for workout shirts and pajama shirts
- Skirts
- Dresses
- Pants
- Jeans
- Jackets
- Sweaters (only the ones that can hang without stretching)
- Vests
Clothes To Fold:
- Sweaters (the ones that will stretch if hung)
- Workout clothes
- Pajamas
- Underwear
- Socks
- Sweatshirts
- Anything else that seems too fragile to hang up
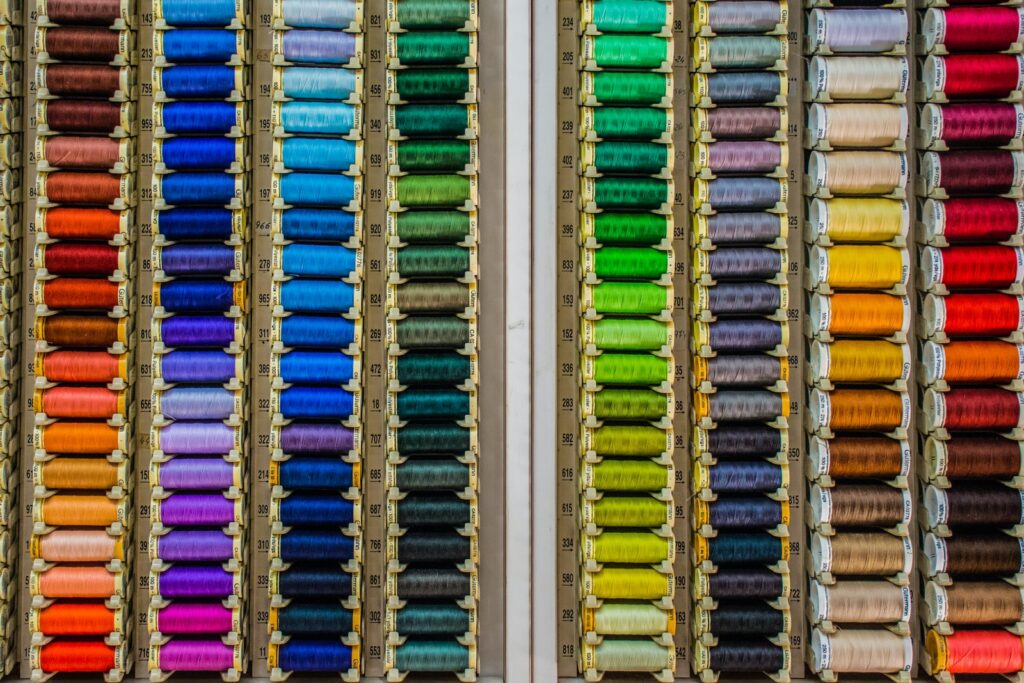
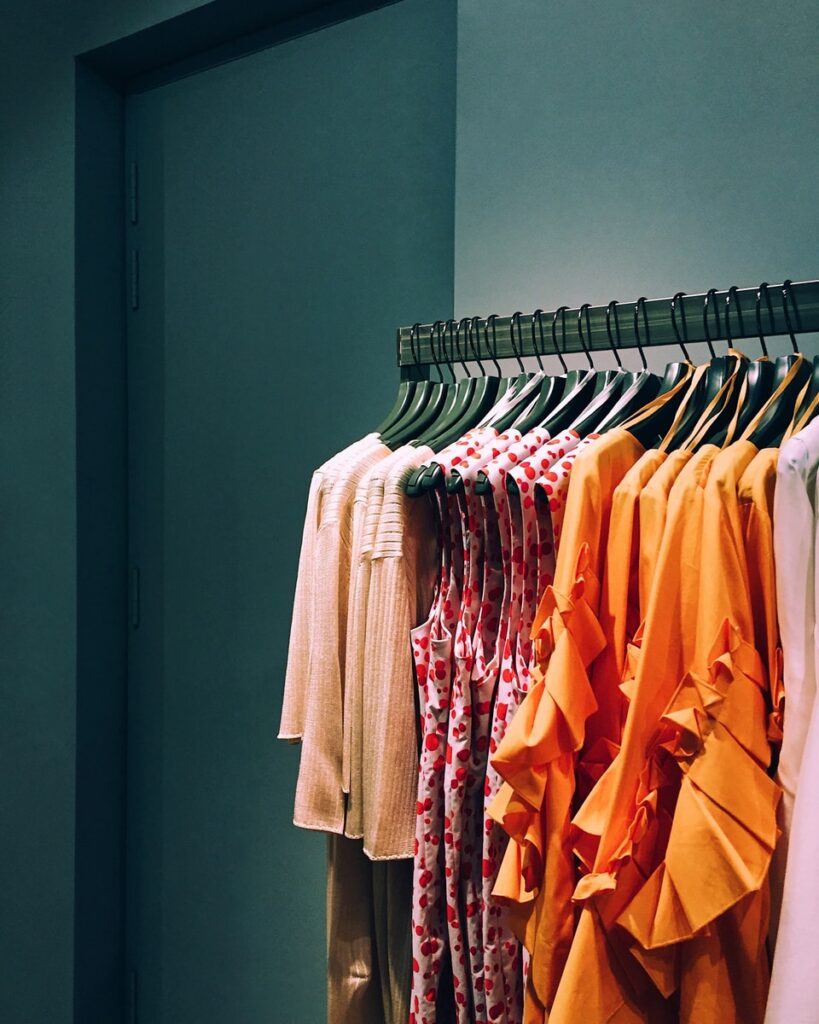
Step 4 – Organize Your Closet By Color
I don’t know about you, but color makes me happy!
However, you probably don’t know this since I tend to wear a lot of black 😜.
But walking into my closet and seeing my clothes color coordinated all pretty makes me happy.
So, that’s what we are going to do!
I like color coordinating using the rainbow method that we learned in school. It’s so easy to remember, which I know because I think I’ve forgotten everything else I learned in school!
The rainbow method is ROYGBIV or Red, Orange, Yellow, Green, Blue, Indigo, Violet.
You’re probably wondering, “that’s great for colors but what about those neutrals we love so much?”
Simple, just place the whites and creams in the front before the red. Then the brown, grey, and black go in the back after the violet. Easy Peasy!
Extra Credit Organizing Trick
This step is not necessary but I like doing it so I thought I would share it.
Within each color section I sort by light to dark. For example:
Red: blush, light pink, rose, red, dark red, crimson, etc.
All the different shades and hues of each color (like red) go within that category from lightest to darkest.
It makes your closet look even prettier, I promise!
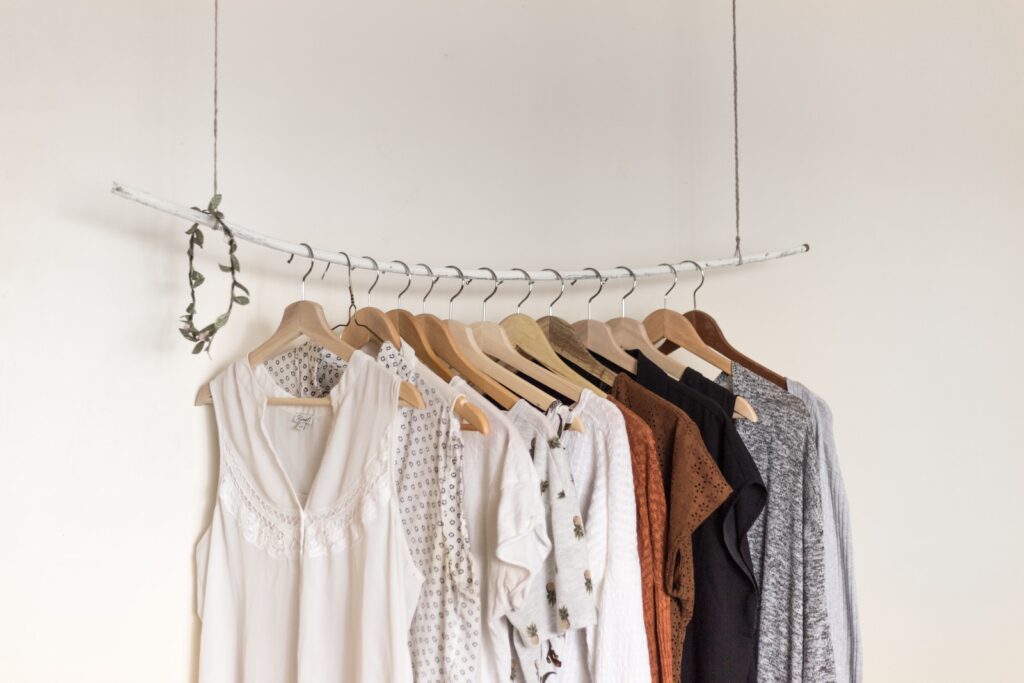
Step 5 – What Order Should You Hang Your Clothes?
Now that you’ve done a lot of amazing work, let’s not mess it up when putting the clothes back into your closet.
The layout of your closet will most likely dictate how you arrange things. Put the stuff you wear most often in the part of your closet that is easiest to get to. You want easy access for the stuff you grab the most!
My closet is a U shape and this is how I have it laid out to give you some place to start:
On the left I have all of my dresses from short to long.
In the middle of the U I have all of my shirts in ROYGBIV order and then my skirts are to the far right of my shirts.
On the left I have my pants, sweaters, and jackets, and vests.
In my ”dresser” a.k.a. my Kallax bookcase from IKEA, I have my workout clothes, underwear, socks, pajamas, and sweaters that need to be folded.
I also typically move summer stuff to the far edge of the closet during the colder months and vice versa once the warmer months roll back around.
Once everything is back in your closet it’s time to pour yourself a glass of wine because YOU DID IT! 🙌🎉
Conclusion: How To Organize Your Closet By Color And Style
I know organizing your closet is a lot of work but it will all be worth it in the end. Getting ready in the morning will be so much easier that you might actually look forward to it!
Let’s recap the steps:
- Sort your clothes into four piles:
- Keep
- Try-on
- Donate
- Throw Away
- Try on the ones from your try on pile and decide which pile they should go in (keep, donate, or throw away)
- Go through your keep pile and separate into categories:
- Shirts
- Pants
- Dresses
- Skirts
- Vests
- Sweaters
- Jackets
- Workout clothes
- Separate each category into sub-categories:
- T-shirts
- Sleeveless shirts
- Long-sleeve shirts
- Jeans
- Trousers
- Etc.
- Organize each sub-category into R.O.Y.G.B.I.V color order:
- Whites & Creams
- Red
- Orange
- Yellow
- Green
- Blue
- Indigo
- Violet
- Brown
- Grey
- Black
- Within each color category arrange the clothes from light to dark:
- Light pink to dark red
- light orange to dark orange
- etc.
- Hang clothes back up into your closet keeping categories together
- Put things you wear most often front and center
- Keep like with like
- Hang in color order from light to dark
I’m so proud of you for doing the work to get your closet organized! Let me know if you tried it and how it went in the comments.
Until next time beautiful!


