
Easy Knotted Headband DIY Tutorial
This knotted headband DIY tutorial is super duper easy.
But first, I’ve got a question for ya.
What do you do with all of your fabric scraps?
You know, that beautiful fabric you bought waayy too much of to make that (insert item here)?
Or that beautiful fabric you bought with intentions on making something MAGICAL but you could never decide what to make with it.
So it’s been sitting, neatly folded, with all of your other fabric.
If you’re anything like me, you fall in love with fabric & get so excited about it even when you aren’t sure what to do with it. Or you do make something with it but then you have a bunch leftover.
Fabric scraps pile up quick!
Well, this super quick & easy knotted headband DIY will help you use some of those scraps.
Best part?
This knotted headband DIY is no sew!
Of course if you want to sew it you can do that too! Win-win.
There are a couple of different tutorials for knotted headbands floating around but I really liked this one. She made it look so easy I thought I’d try and make one too!
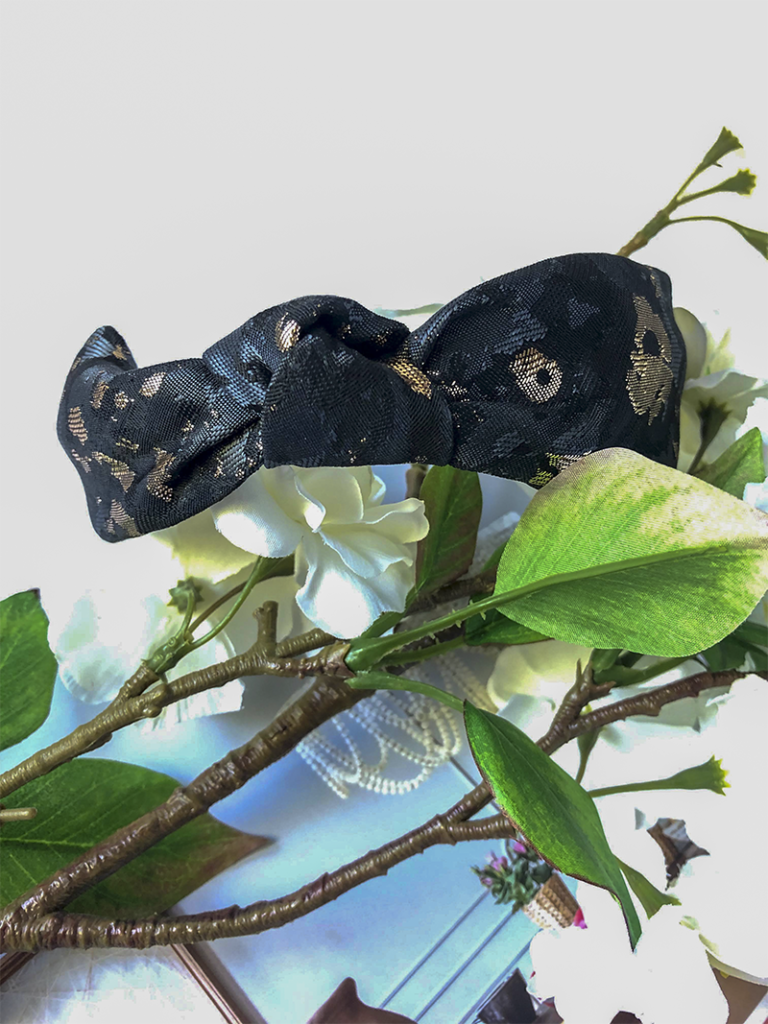
Easy Knotted headband DIY tutorial
These top knot headbands are everywhere lately & they are so cute but I can’t bring myself to buy one. I have a hard time buying things I know I could make myself.
So, I finally decided to stop being lazy & make one already! Want to make one with me?
This will take you less than 30 minutes….really!
How To Make An Easy DIY Knotted Headband
Step #1 – Gather Your Supplies

For this project you’ll need:
- A fabric scrap of your choice. This is one of those fabrics that I love but could never decide what to do with it.
- One plastic headband of your choice. This is just one that I had. You can use one you have or buy one.
- Hot glue gun. This is a super duper cheap one (like $3) from Walmart. It gets the job done.
Step #2 – Cut Your Fabric
Cut your fabric so it’s the same length as your headband plus about 3 inches or so. Then you can make the width as wide or as skinny as you want.
You just need enough so you can fold both sides into the middle (to hide the raw edges). Mine was about 4” wide.
Step #3 – Fold long edges of fabric towards the middle

Then you’re going to fold each of the long edges in towards the middle (of the wrong side) and secure them with hot glue (If you are sewing then you can sew them down, either way).
Mine might look a little confusing because one edge was finished with a serger and one wasn’t.
This is because I had prepared this fabric for something else but decided that I’d rather make a headband instead and I was too lazy decided not to serge the other side.
I put the arrows in to help in case you couldn’t tell what I did. Do they help?
Step #4 – Fold In Half Lengthwise

I then folded it in half. I just did this for when I tie the knot. It won’t stay like this so don’t put any glue on it yet.
Step # 5 – Tie A Knot Around The Center Of The Headband

Now you want to tie a knot around the center of the headband. You can play with it to make it as big or as tight as you want. I didn’t want it sticking up too much on my head. But that’s just me.
Step #6 – Glue Sides Down Onto Headband

So now you should have your knot tied around the headband & the rest of your fabric hanging down on either side.
If your fabric is still folded from the last step, make sure you unfold it before you start gluing.
Start with one side and slowly glue the headband down into the middle of the fabric where the two edges you glued down in the first step meet.
When you get down near the end you need to decide how you want to finish the ends. Some people make a little cap for the ends (like she does here).
I just folded the ends in and glued them down, and then wrapped them down on top of each other one at a time. Use lots of hot glue. 😜
I, unfortunately, did not take a picture of this part…so hopefully that makes sense? There is really no wrong way to make this happen!
You could even leave long ends trailing down after the end of the headband and then tie them around your head.
Once you have finished gluing both sides down you are finished! Hooray, you did it!!
Conclusion: Easy Knotted Headband DIY Tutorial
See, I knew you could do it, easy peasy.
This is a great project to do when you have a pile of pretty fabric scraps and need something new to hold back that pretty hair of yours.
I just love me a good quick project, don’t you?
How did yours turn out? Let me know in the comments.
Until next time beautiful!