
Minky Baby Blanket DIY | With Optional Tags!
Baby blankets are just the best, aren’t they? And what’s better than a baby blanket? Why a Minky baby blanket of course!!
Minky fabric is so wonderful for baby blankets. Why, might you ask?
Because it is so soft of course! My 3-year-old son picked up the Minky fabric and immediately said “oooh soft” and wanted me to make him a blanket!
My sweet little niece (who I still haven’t met because of this COVID-19 craziness!) was born back in March & since it doesn’t seem like I will get to see her anytime soon, I thought I’d make her a snuggly blanket.
To add a little extra does of awesome-ness I decided to add some tags onto this so it’s part tag blanket and part snuggly blanket. Tag blankets are lots of fun for babies’ senses.
You can google the benefits of tag blankets for babies & find lots of good articles about them if you’d like to learn more.
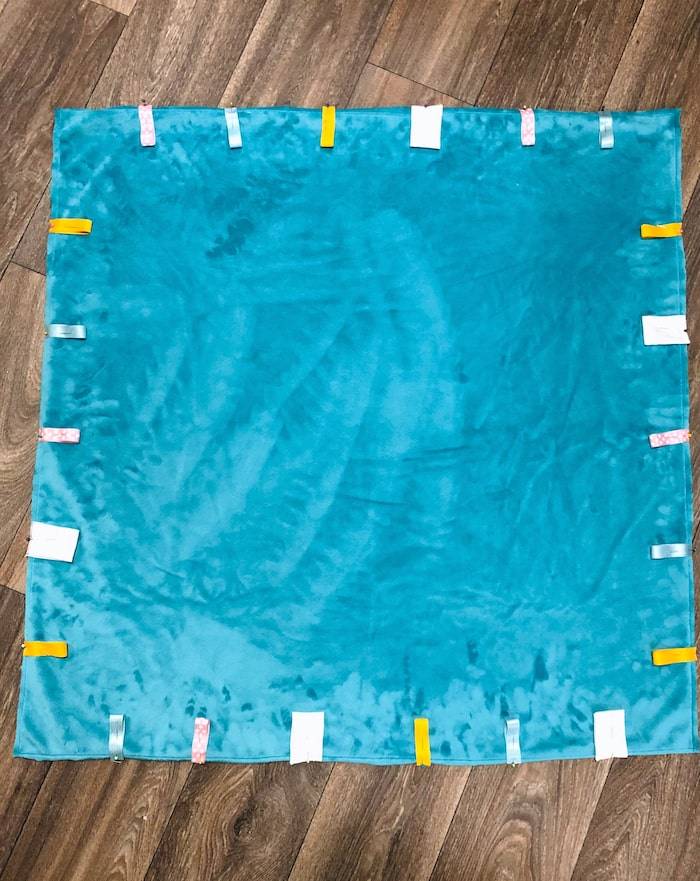
Typical tag blankets are fairly small, around 12 inches or so, but this isn’t a typical one so I made it quite a bit bigger. The blanket is 34 x 34 inches & the tags stick out 1 3/4″ from the edges of the blanket. This is completely arbitrary so feel free to make your blanket any size you want!
Fabric Info…
The fabric I used for this blanket I bought at Hobby Lobby. The back turquoise fabric is Minky & the front is flannel. I like Hobby Lobby because they tend to be less expensive however, their selection is smaller.
Joann’s is probably my main go-to since they have the largest selection. It can get overwhelming though!
If you want to try ordering fabric online then check out Fabric.com. I have ordered fabric from them before & had a great experience. I would recommend ordering some samples first if you aren’t sure because it can be hard to tell what it really looks like on a computer screen.
Are you ready for this??
Let’s do it!
Minky Baby Blanket DIY
SUPPLIES
- Minky Fabric
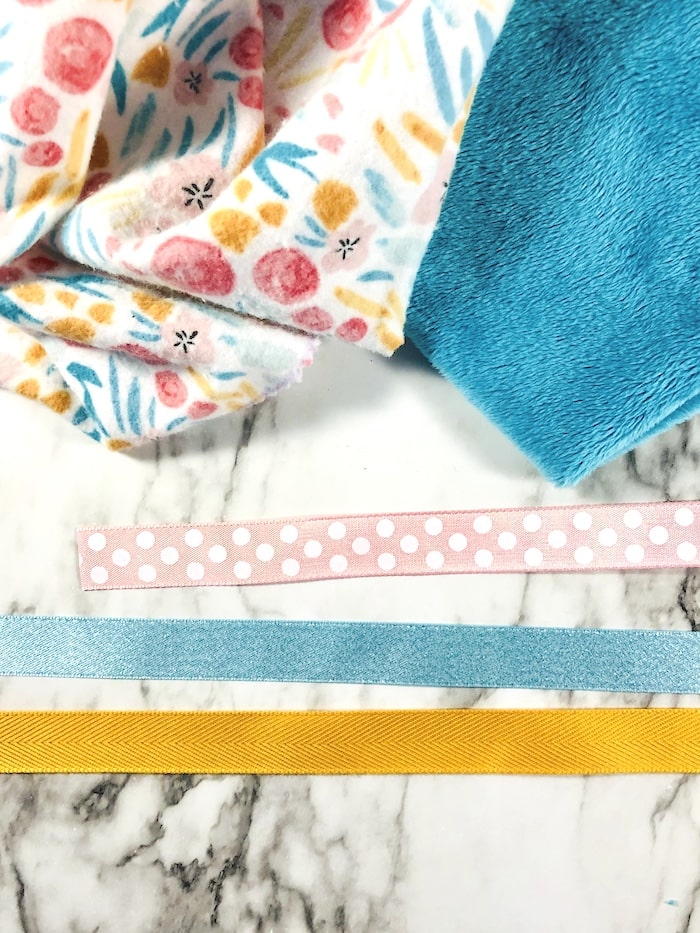
- Nursery Flannel fabric for the top layer
- Different types of coordinating ribbon (you can do different textures, prints, & colors to help stimulate the baby’s senses)
- Thread
- Sewing Machine
- Sewing machine needles – for this project I used the universal 90/14 size
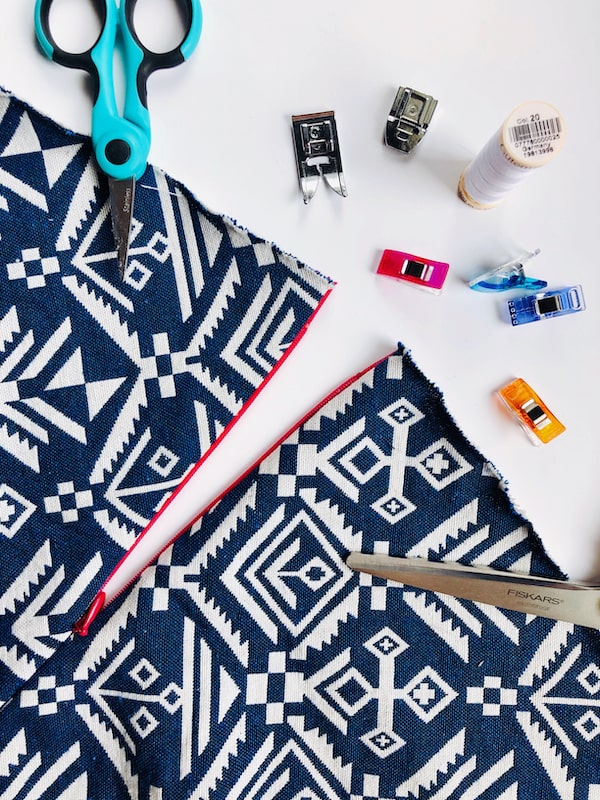
- Scissors – these are my favorite scissors
NOTE: Once you’ve chosen your fabric, be sure to preshrink it before cutting & sewing. This will prevent the finished piece from shrinking the first time it is washed.
CUT OUT FABRIC
Okay, you’ve gathered your supplies, preshrunk your fabric, & you are ready to go, great!
Now, it’s time to cut out the top & bottom of your blanket.
You can make your blanket as big or as small as you want. I made this one 34 x 34 inches & it turned out pretty big. I’ve also made some 30 x 30 and that seems to be a good size as well. Experiment to see what the best size is for you!
Whatever size you choose be sure to add on the seam allowance. I used a 1/2″ seam allowance so I cut a 35 x 35 in. square.
Cut one square out of your Minky fabric & one out of the flannel.
Be sure to cut your Minky carefully & don’t let it move around.
STAYSTITCH MINKY
Stay stitching your Minky fabric is SUPER important. This will prevent it from stretching out while you are sewing it later.
Note: Staystitching is just a regular stitch length that you sew on each of the individual pieces before you sew them together. This helps to ensure the fabric maintains its shape. This is a step I always use when sewing necklines, armholes, and any other curves where things might stretch.
The first time I sewed with Minky fabric I didn’t stay stitch. I then spent the next 3+ hours trying to get it squared off and back into the right shape. 😱Not fun!
Stay stitch with a regular stitch a little inside your seam allowance. I kept my stitching at about 3/8″ since my seam allowance is 1/2″. You don’t want your stay stitching to show on the final product.
Also, I used a longer stitch length than I normally do since the Minky is a bit fluffy. I usually use a 2.5mm but I used around a 3mm to help get through the Minky.
I also used a Universal 90/14 needle. You could probably use an 80/12 here as well.
PIN & BASTE RIBBON TAGS TO MINKY
For the tags, you will need to cut about 4″ of each type of ribbon. You can make them larger or smaller that’s just the measurement I went with.
Fold each strip of ribbon in half and pin onto the fabric lining up the raw edges and loops pointing towards the middle of the fabric.
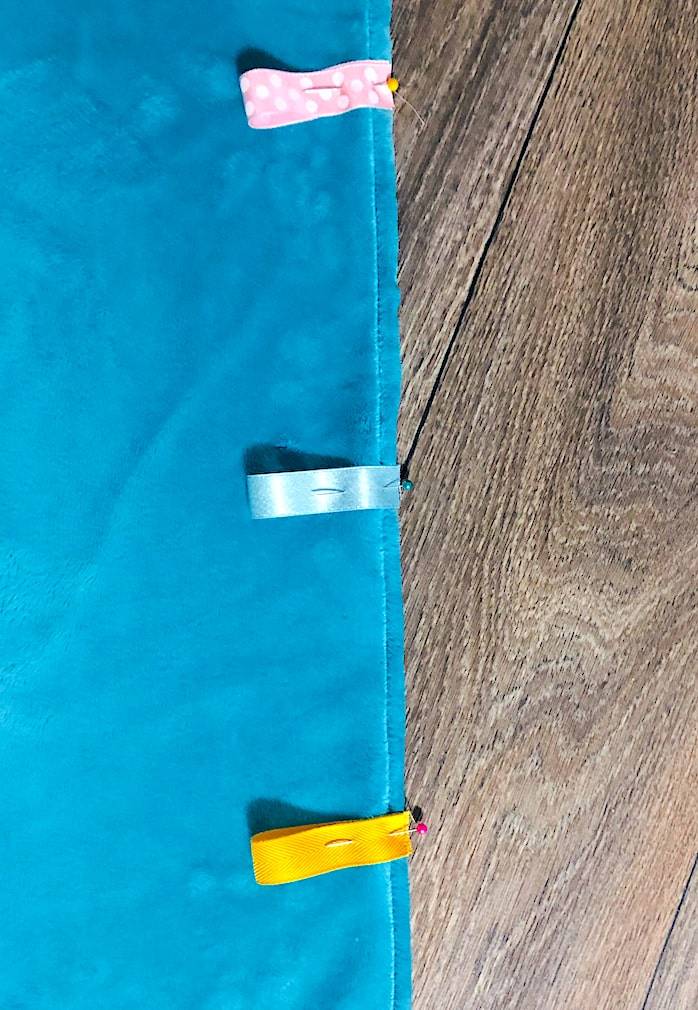
This is so the tags will be facing outwards when we are finished and the raw edge will be encased in the middle of the blanket.
Pin the tags where you want them & then when you are happy with the placement, baste each tag onto the fabric.
There is no right or wrong way to place the tags. You can have a bunch or a few, it’s all up to you. Just play around and be creative! Make it your own.
SEW BOTH SIDES OF BLANKET TOGETHER
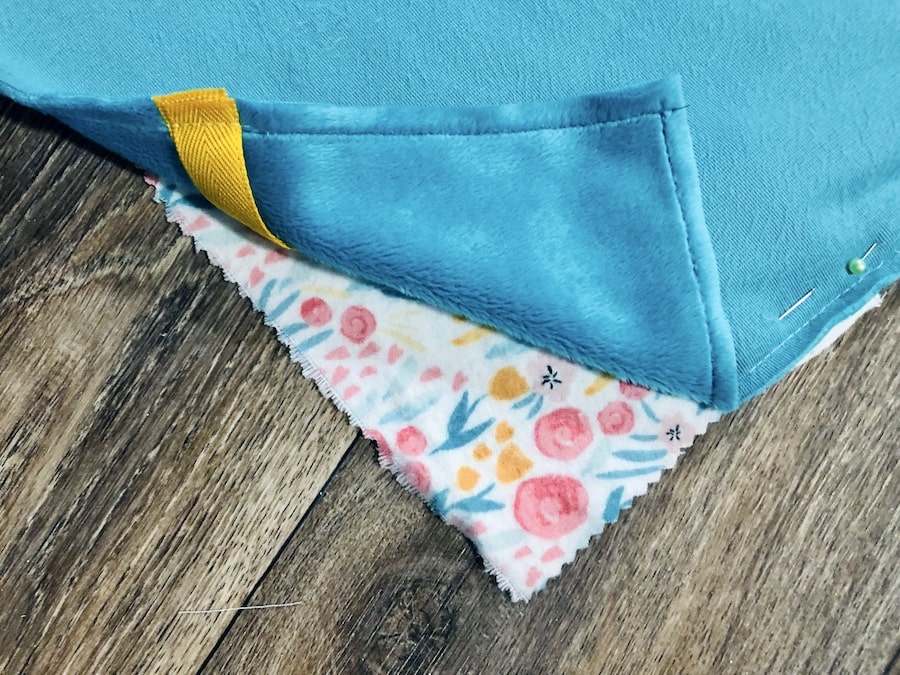
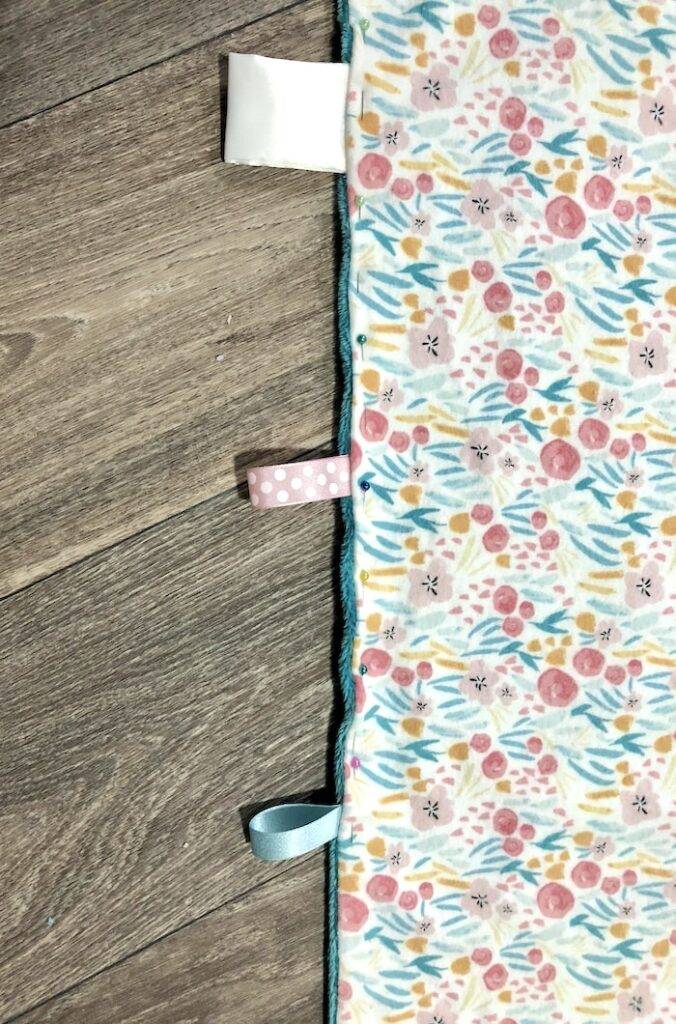
Once the tags are all basted on, place your second layer of fabric face down on top of the Minky, matching up the edges.
Note: The tags should still be facing inwards, so when the second layer of fabric is pinned on, the loops are sandwiched between the two layers & they aren’t visible. See the photo below to see how the layers are placed together.
Carefully pin the two layers together, making sure the Minky doesn’t slide around. I used lots of pins! Better to be safe than sorry, right?
Don’t forget to place your pins parallel to the fabric edge to help them stay in place better. See the photo below.

Carefully sew the two pieces together. Since the Minky is tricky, I sewed one side of the blanket then laid it back on my table to check and make sure it was all still lined up before sewing down the next side.
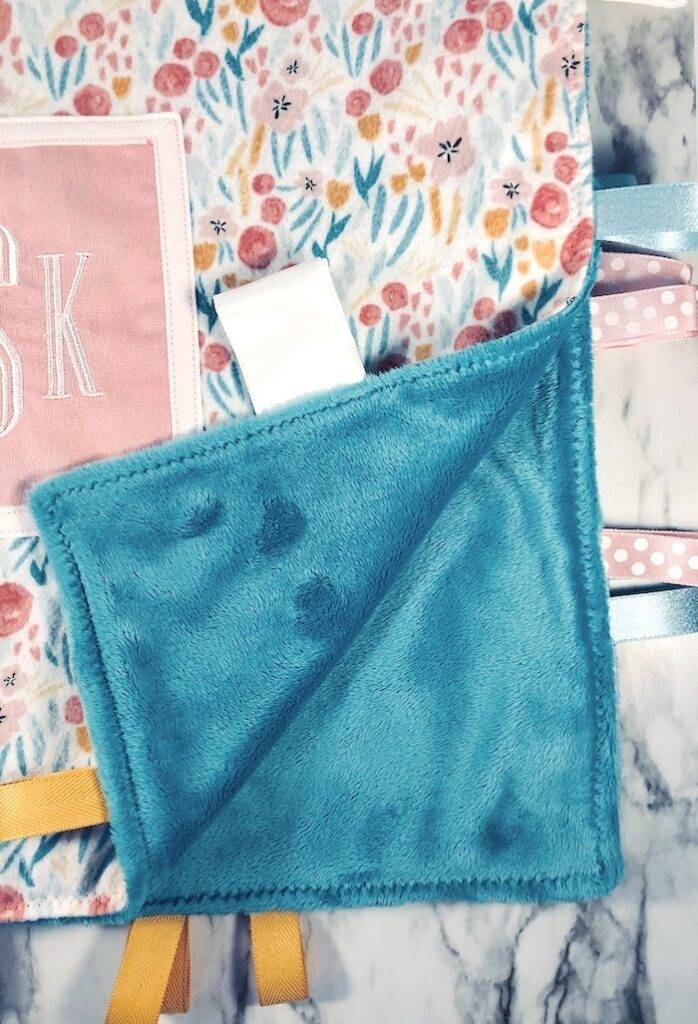
Just be sure to leave about 3″ open so you can turn it right side out.
CLIP, TURN RIGHT SIDE OUT, & PRESS
Clip your corners close to, but not through, your stitching. Turn it right side out and push out the corners. You should get a nice sharp corner now since you clipped the seam allowance there.
Give the blanket a good press (be sure to turn the seam allowance in on the open hole first).
Your blanket should be looking great! Check your tags to make sure they all were sewn in ok and look how you want them to a.k.a. not sticking out at crazy angles.
Unless that is what you want to happen & in that case you do you, girl.
TOPSTITCH AROUND BLANKET
You are so close!
Turn the seam allowance in on the open hole & pin it closed.
Topstitch around all four sides of the blanket. This gives it a nice finished look and also closes the hole you used to turn the blanket earlier. How awesome is that??
🎉 Time To Celebrate Because You Are Done!! 🎉
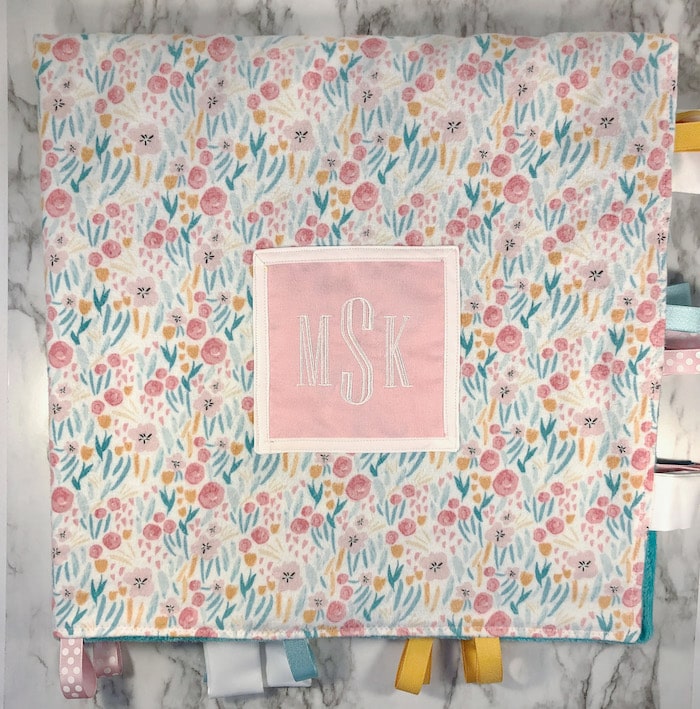
You are now the proud owner of a Minky baby tag blanket!!! If you have an embroidery machine & feel the need to monogram everything like me, then add some monogramming to give it that special touch & make it even more unique! Or you can whip out that Cricut (my newest obsession) and bedazzle it that way.
Note: The white border around the monogram is bias tape – I did the monogram on a solid piece of fabric (so it would show up better) and then attached it with the bias tape around it to finish off the edges.
You did so great, I am so proud of you!
Your (insert receiving party here) is going to be so excited when you give them this blanket!
There is nothing that says love more than something that is hand made don’t you think?
I would love to hear how your Minky baby blanket DIY experience was! Oh, and I need pictures of course!
Until next time friend 💕